 |
| This is the UV Editor, where you make the template for all the faces for your shape. |
[2] When you have, right click the cube you have made and scroll down to the Convert To > Editable Poly.
[3] In the Editable Poly menu on the right hand side, click onto Polygons and press CTRL A to select all the faces of the cube shape.
[4] Right click the cube again in this menu and select Inset and change the amount to 4.0.
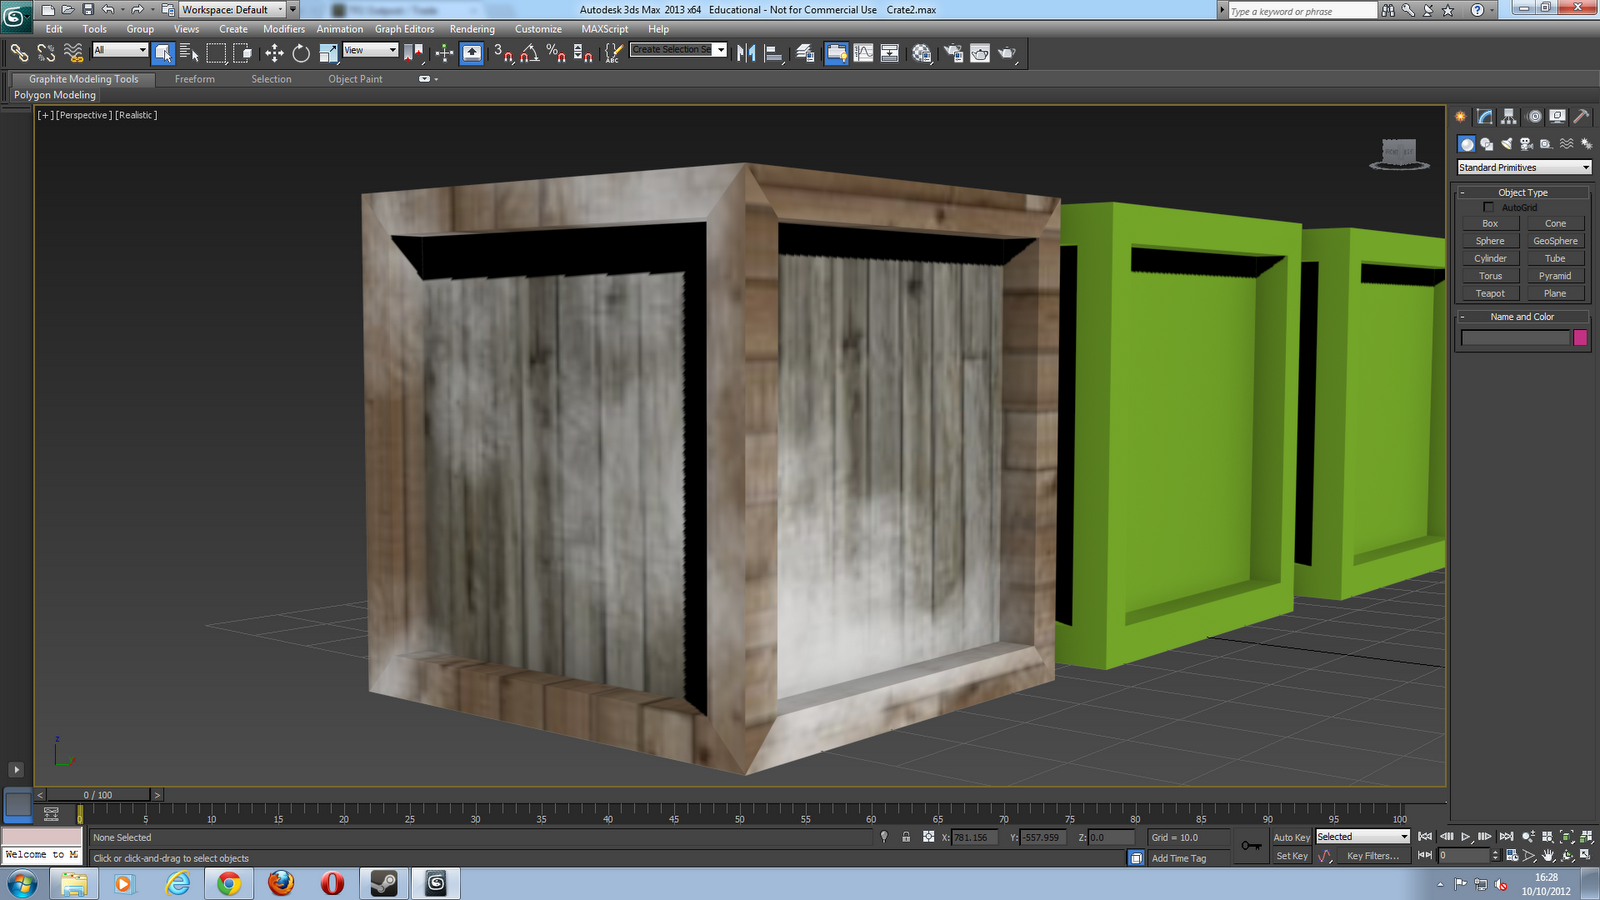
[5] Deselect the cube and right click the cube again and find Extrude. Change the amount to -4.0. This makes the cube collapse in on itself, giving a nice smooth thick line around the edges of the cube.
[6] Now, in the Modifier list, which is found in the right hand menu, pick 'Unwrap UVW' and in the same menu below, select 'Open UV Editor' to unwrap the cubes sides so that they are ready for texturing.
[7] In the UV Editor, click the Polygon button on the bottom left corner of the window to make it select the polygons. (Make sure that both the Editable Poly and the UV Editor are both not in 'Edit Polygon' mode or else it will not select any of the polygons).
[8] Select all the faces of the cube by pressing CTRL A and then, in the UV editor, click on Mapping > Flatten Mapping to flatten the sides of the cube into an editable format.
[9] Now, with the selections you have, drag out one of the faces to start on and edit.
[10] On the bottom, where you selected Polygon mode in the UV Editor, select the Linear mode to select lines of the cube faces. With the face you dragged out and put into the work space, select one of its lines and right click. In this menu go to 'Stitch Selected'. When that is done, your selection will attach itself to the side of the cube it belongs to, thus adding onto the cube and completing it.
[11a] When the cube wants one of the lines that are attached to another, you have to select the Polygon you need with the Polygon tool and right click it. In this menu, select 'Break'. You will have to do this to all the surrounding Polygon's because they will still be attached. When that is done, reselect the Linear Selector and right click, press on 'Stitch Selected' and it will place the polygon in the right place. When you have attached everything to the right squares, select the edges of the Polygons and attach them together to make a netting of a cube.
[11b] Duplicate the cube once to create extras. Doing this will keep the UVW Netting on each cube you have duplicated. This is so we can see the two ways you can add texture.
[12] Doing this to all of the polygons will allow you to have a full netting of your cube. When you have the netting completed, shrink the netting to fit the editing space.
[13] After doing that, in the top right hand corner, reselect the checker pattern by going to the scroll down menu and picking 'Checker Pattern'. This makes the pattern clear and ready to edit.
[14] When you have done all of that, go to Tools > Create UV Template and change the sizes to 512x512 and press okay. The UV Template will appear, save it as a .PNG

[16]

No comments:
Post a Comment